It's been a while since the PWA concept became a reality. Time ago, thanks to the usage of the Service Workers API, web developers could create web applications in a similar way Android or iOS devs were coding. However, Progressive Web Apps have been on a second line due to the lack of native support. Even if you can create an awesome PWA like the twitter one you were not allowed to publish it in Google Play.
Before the latest Google Announcement there was only one choice, embed your PWA into a regular Android app using a web view or a Chrome custom tab. These solutions were working fine but didn't let you show your app using a full-screen UI or use any of the browser sharing capabilities: all the storage, cache, and sessions within the browser. It also displayed an ugly toolbar indicating your app was being rendered inside a browser. However, starting from Chrome 72, we will be able to use a new impressive component named Trusted Web Activity that will let us use an embedded full-screen browser with all the Chrome features just inside your apps.
A Trusted Web Activity runs a Chrome browser full-screen in an Android app, meaning there is no browser UI visible in the app (that includes the URL bar). This is a powerful capability, so Google needs to verify that the app and the site belong to the same developer - hence it is ‘Trusted’. To confirm that the app and the site inside it belong to the same developer, a TWA uses Digital Asset Links to certify ownership.
What should I do if I want to publish my PWA in Google Play? Spoiler, you still need to create your Android app 😞 But don't you worry, starting from this line we are going to review all the steps needed to create your Android APK with the PWA inside ready to be published 😃
Step 1:
Create an Android project from scratch using Android Studio.
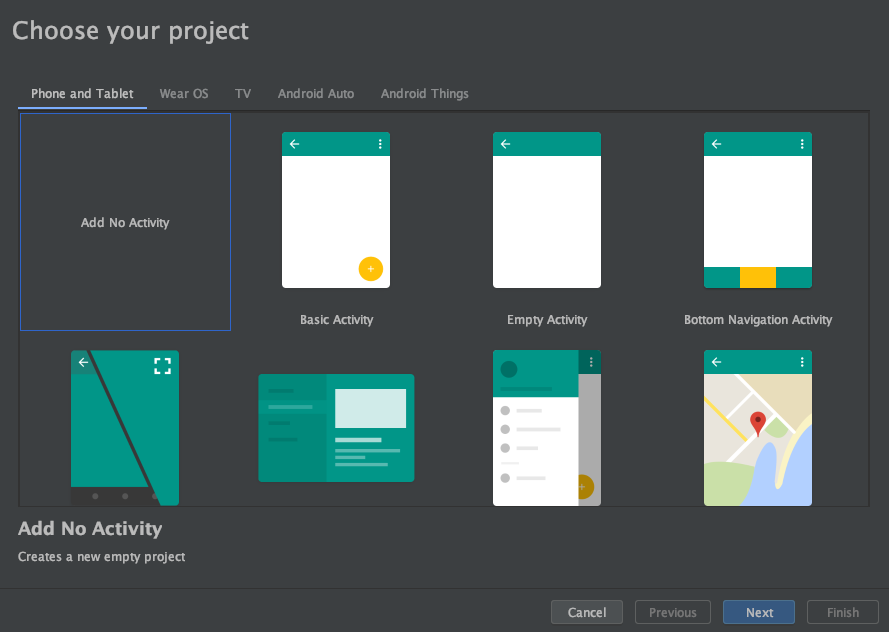
Remember you should use at least API 16 😄
Step 2:
Configure TWA Support Library and add the Jitpack dependency to your list of repositories:
allprojects {
	repositories {
		google()
		jcenter()
		maven { url "https://jitpack.io" }
	}
}
Enable Java 8 source and target compatibility:
android {
	...
	compileOptions {
		sourceCompatibility JavaVersion.VERSION_1_8
		targetCompatibility JavaVersion.VERSION_1_8
	}
}

``
Last but not least, add the custom tabs client library implementing the Trusted Web Activity feature:
dependencies {
    ...
    implementation 'com.github.GoogleChrome.custom-tabs-client:customtabs:d08e93fce3'
    ...
}
Step 3:
Configure your AndroidManifest.xml adding the Trusted Web Activity to your application:
<manifest xmlns:android="http://schemas.android.com/apk/res/android"
    xmlns:tools="http://schemas.android.com/tools"
    package="com.example.twa.myapplication">

    <application
        ...
        <activity android:name="android.support.customtabs.trusted.LauncherActivity">

           <meta-data
               android:name="android.support.customtabs.trusted.DEFAULT_URL"
               android:value="https://airhorner.com" />

           <intent-filter>
               <action android:name="android.intent.action.MAIN" />
               <category android:name="android.intent.category.LAUNCHER" />
           </intent-filter>

           <intent-filter>
               <action android:name="android.intent.action.VIEW"/>
               <category android:name="android.intent.category.DEFAULT" />
               <category android:name="android.intent.category.BROWSABLE"/>

               <data
                 android:scheme="https"
                 android:host="twitter.com"/>
           </intent-filter>
        </activity>
    </application>
</manifest>
As you can see, the last intent-filter configured will be used to trigger only when your PWA host is opened from any link or URL. This will let you support deep links by default, just as a regular PWA does.
Step 4:
We need to configure the Digital Assets Links to be able to provide a way for our PWA to make verifiable declarations that can be consumed by other websites and mobile apps. To do this you'll need to add a new string resource like this one to your strings.xml file:
<resources>
	...
    <string name="asset_statements">
        [{
            \"relation\": [\"delegate_permission/common.handle_all_urls\"],
            \"target\": {
                \"namespace\": \"web\",
                \"site\": \"https://twitter.com\"}
        }]
    </string>
</resources>
Remember to replace twitter.com with your own host.
Step 5:
Link the already created string with the Trusted Web Activity by adding this meta-data line to your manifest:
<application
        ...
        <meta-data
            android:name="asset_statements"
            android:resource="@string/asset_statements" />
        <activity>
            ...
        </activity>
</application>
Step 6:
Configure your signing config for this app following this guide and extract the keystore SHA-256 using the following command:
keytool -list -v -keystore -alias -storepass -keypass
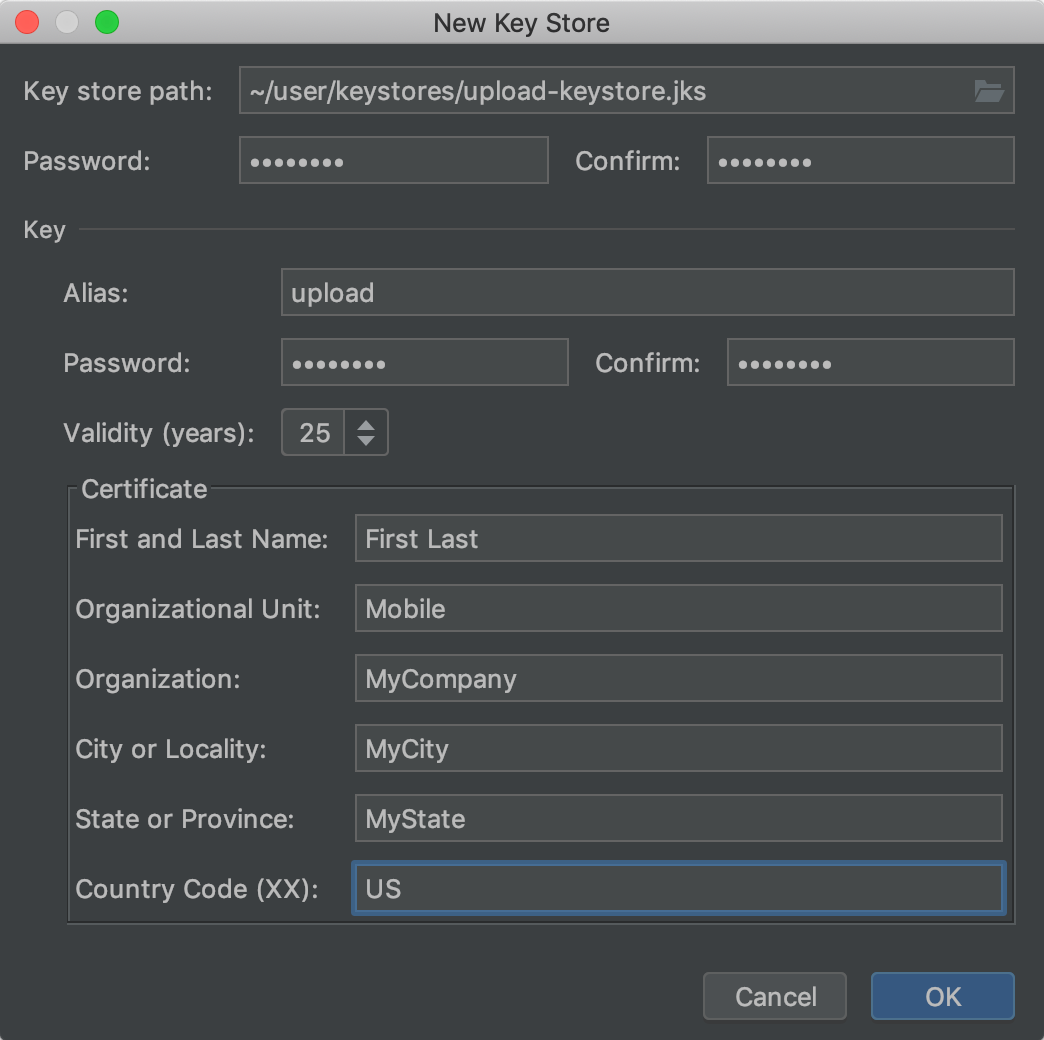
Once you've got the keystore SHA-256 value you can now create the assets link json file using this generator and serve it from the root of your domain: /.well-known/assetlinks.json. You'll get a file like this:
[{
  "relation": ["delegate_permission/common.handle_all_urls"],
  "target" : { "namespace": "android_app", "package_name": "com.karumi.pwa",
               "sha256_cert_fingerprints": ["YOUR_CERT_SHA_256"] }
}]
This will let you be the only one who's able to use this Trusted Web Activity feature within your PWA.
Step 7 (optional):
If you want to test the app without uploading any file to your servers or configuring your app keystore you can enable the "Enable command line on non-rooted devices" option from the "chrome://flags" URL as follows:
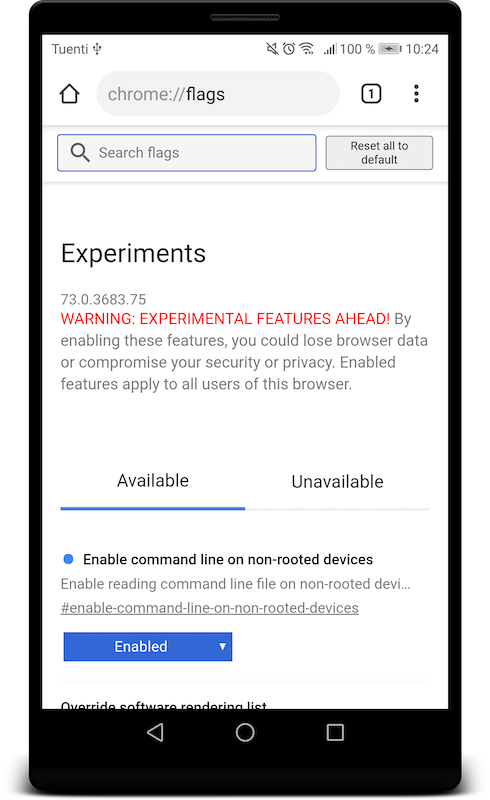
After enabling this flag, you can run this command and reboot your device:
adb shell "echo '_ --disable-digital-asset-link-verification-for-url=\"YOUR_PWA_HOST\"' > /data/local/tmp/chrome-command-line"
After rebooting your device you'll be able to run your Android app with a full-screen and fully functional progressive web app inside.
Step 8:
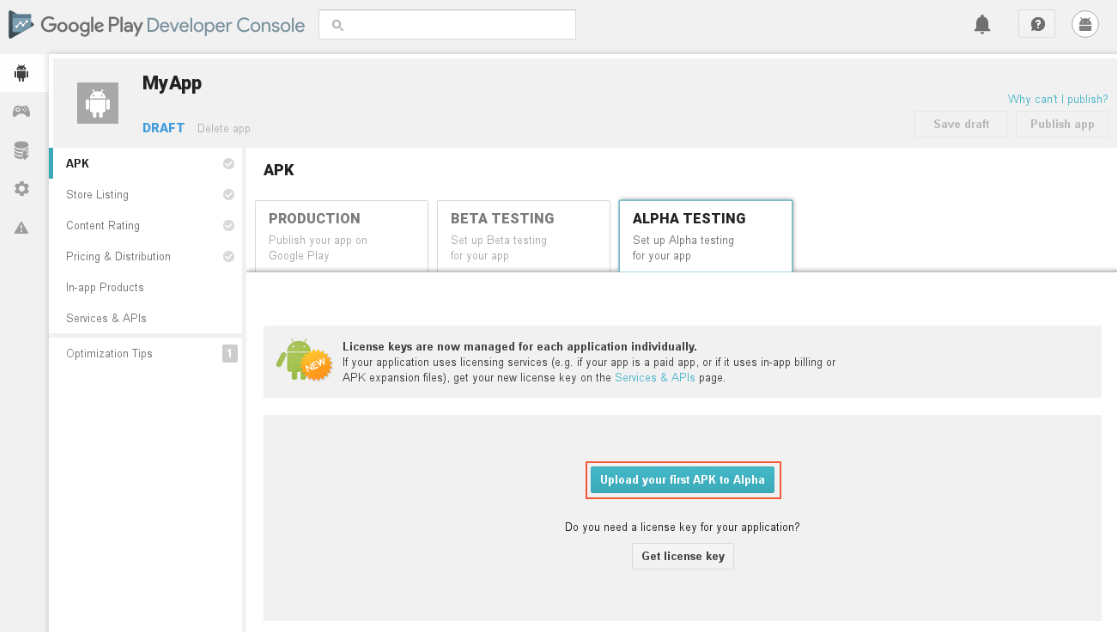
Good news, we are ready to go 👏👏👏 Build your APK and publish it in Google Play! If you need a hand you can always follow this guide.
Conclusions:
This new feature Google Chrome provides is interesting for any web developer who wants to be part of the Google Play ecosystem. But there are some thoughts and conclusions we'd like to share with you:
- The process of creating this project should be automated. At least the project scaffolding. There are at least 7 manual steps we should automate somehow.
- Thanks to this technique we will be able to update our app like any other regular app. We will only need to publish a new APK if the app icon changes or we want to change any native code we could write.
- The usage of this development strategy will never replace native applications, flutter, Kotlin native, or react native applications from the performance viewpoint. Remember web applications are not allowed to use any multithreading feature like native code or some hybrid platform do.
- If the user installed a version of Google Chrome < 72 they will see your app as a Google Chrome custom tab. This is because the Trusted Web Activity is a special case of a Chrome Custom Tab.
- Remember this is not available for iOS apps for now.
- If the user has not Google Chrome installed, the app will be rendered using the default browser. This might end up with a non expected UI for your app, and you will not have control over the result.
- Remember your PWA will still have to be validated by some tool like Lighthouse. You can find a list of the PWA baseline we should follow here.
Resources:
- https://blog.chromium.org/2019/02/introducing-trusted-web-activity-for.html
- https://developers.google.com/web/updates/2019/02/using-twa
- https://developer.android.com/reference/android/support/customtabs/TrustedWebUtils
- https://developers.google.com/digital-asset-links/v1/getting-started
- https://developers.google.com/digital-asset-links/tools/generator
- https://raw.githubusercontent.com/GoogleChromeLabs/svgomg-twa
- https://medium.com/@firt/google-play-store-now-open-for-progressive-web-apps-ec6f3c6ff3cc
- https://www.bram.us/2019/02/04/how-to-publish-your-pwa-onto-the-google-play-store/
- https://developers.google.com/web/fundamentals/primers/service-workers/