
Jetpack Compose Screenshot Testing with Shot
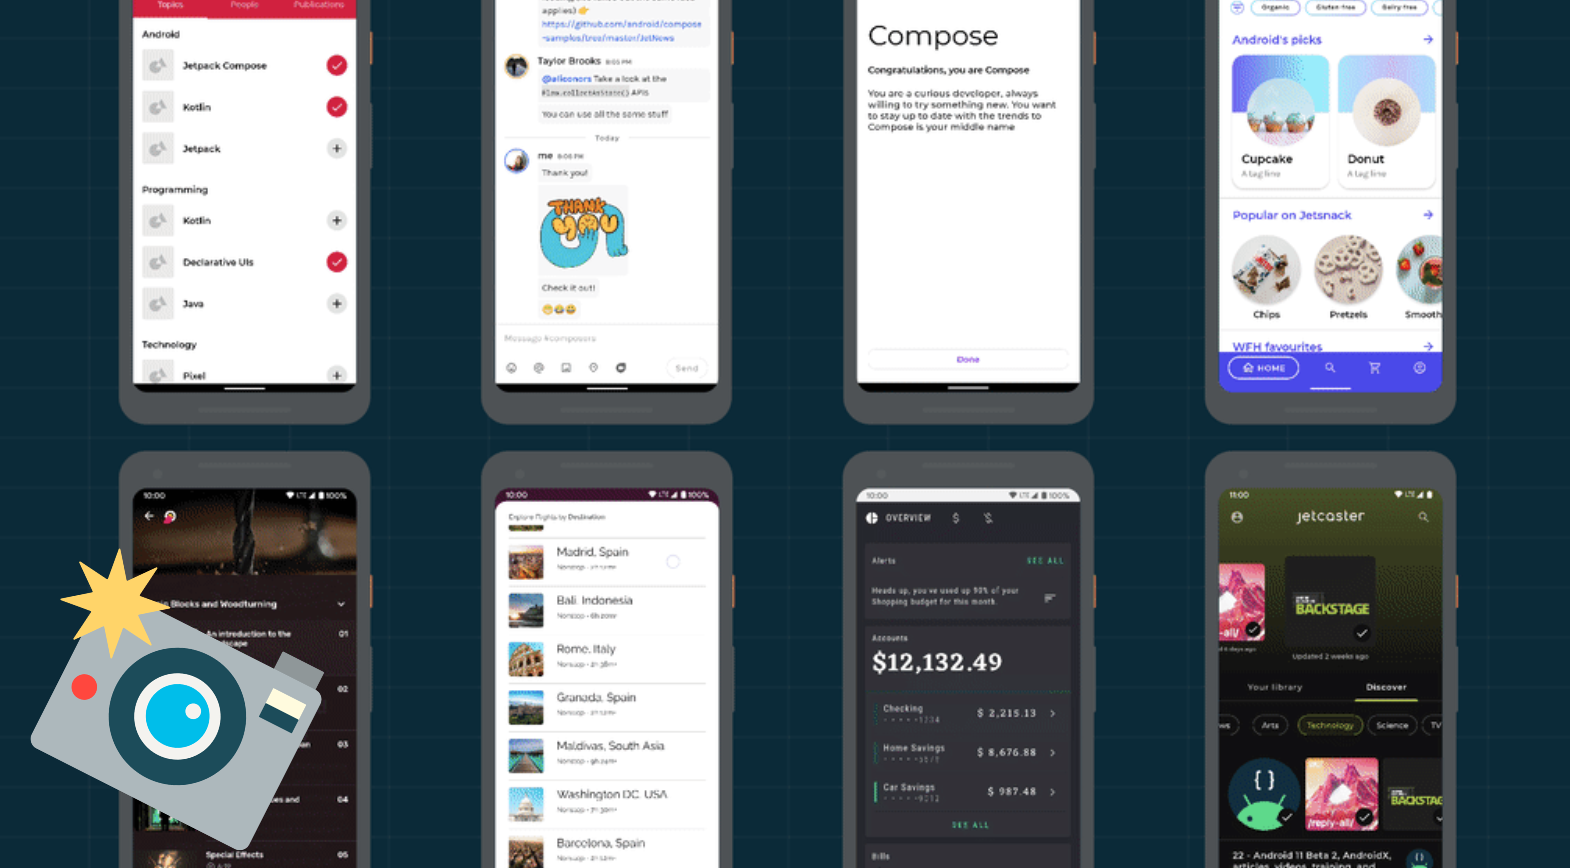
Weeks ago, the Jetpack Compose team announced their first alpha release full of useful features, a lot of reference code and some documentation. It was a great moment for the Android ecosystem! We know Compose is going to change the way Android devs build apps around the world and we also wanted to help. That's why today we announce official Screenshot Testing support for Jetpack Compose in Shot.
Right after the release, José Alcérreca wrote to us to mention there could be an interesting opportunity to implement screenshot testing support as part of our already implemented screenshot testing library.
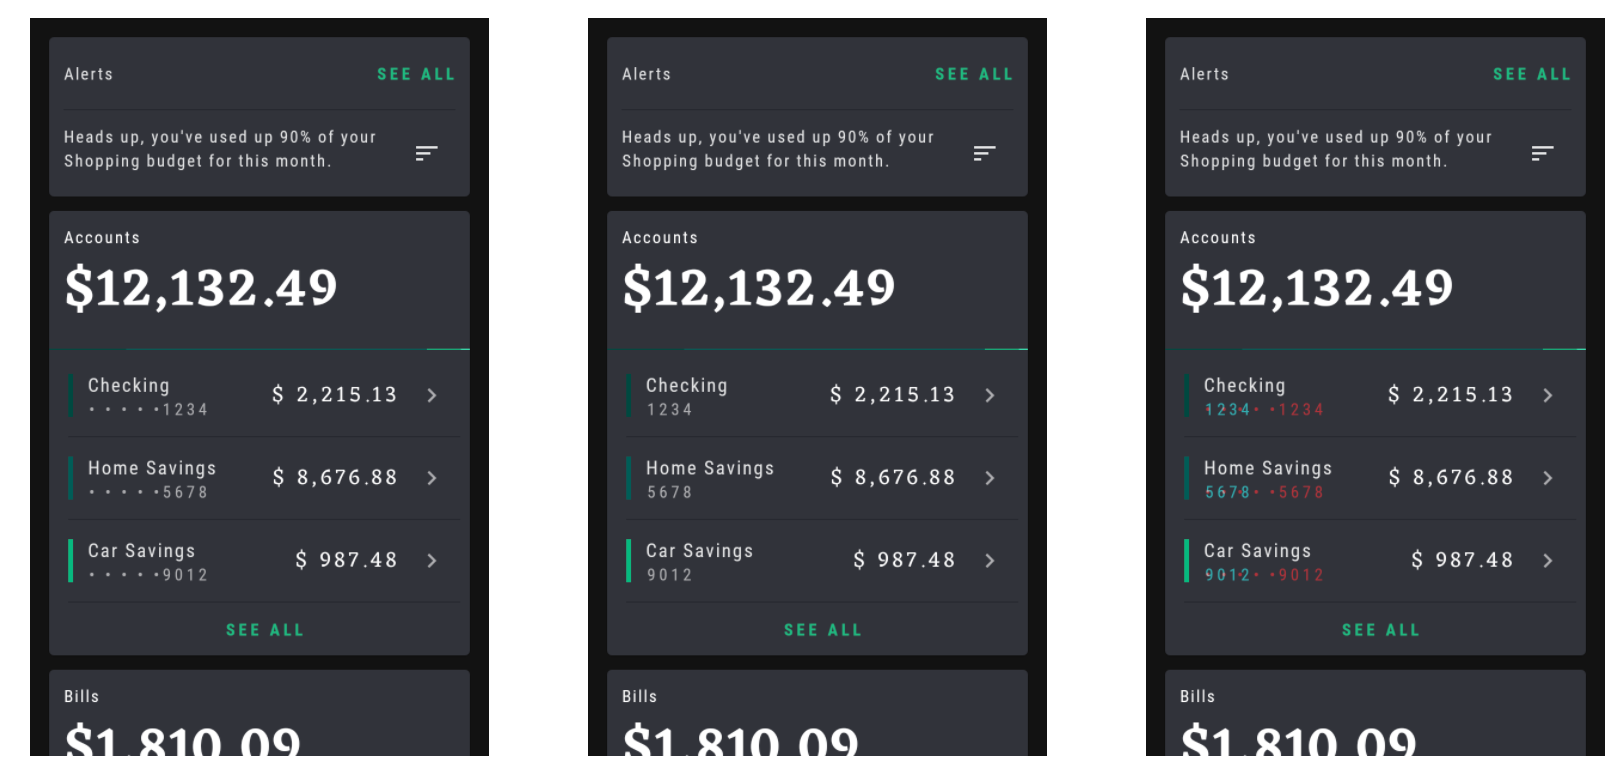
Screenshot testing is one of the best testing strategies you can use in your UI layer. We have been using it for years, and we love it ❤️ It takes a picture of your views in the state you want and saves it as a reference in your repository. Once you consider these screenshots are correct, these will be used to ensure there are no bugs in your UI layer in the next tests' execution. If there is any error, you'll get a report with the screenshot diff showing you where the failure is. Here you have an example of a failed test because, by mistake, the account number is not shown using the * mask it showed before:
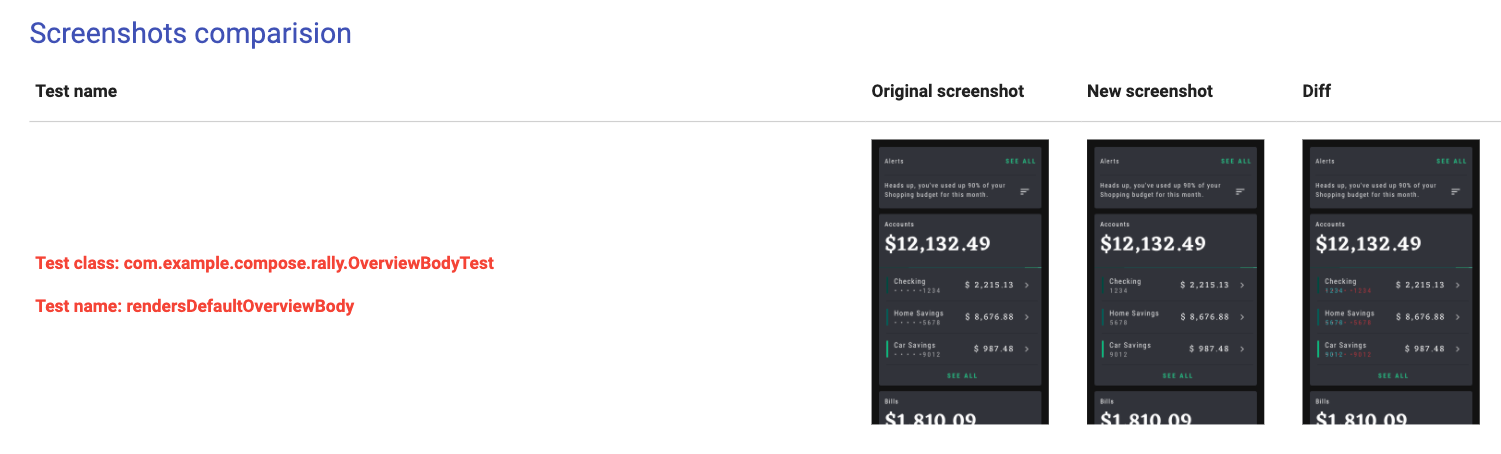
Look at the third image! The "diff" column shows where the error is using pixel-perfect precision 📸
In case you would like to know more about the usage of this testing strategy, you can find a detailed blog post about this testing strategy here by Eduardo Pascua.
However, at this point, you might be wondering what a Jetpack Compose Screenshot test might look like 🤔 Don't worry, tt's really simple. We've provided a simple interface named "ScreenshotTest" for you. You can add this interface to any instrumentation test and use it to take the components screenshot as follows:
class OverviewBodyTest : ScreenshotTest {

    @get:Rule
    val composeTestRule = createComposeRule()

    @Test
    fun rendersDefaultOverviewBody() {
        renderOverviewBody()

        compareScreenshot(composeTestRule)
    }

    private fun renderOverviewBody() {
        composeTestRule.setContent {
            RallyTheme {
                OverviewBody()
            }
        }
    }

}
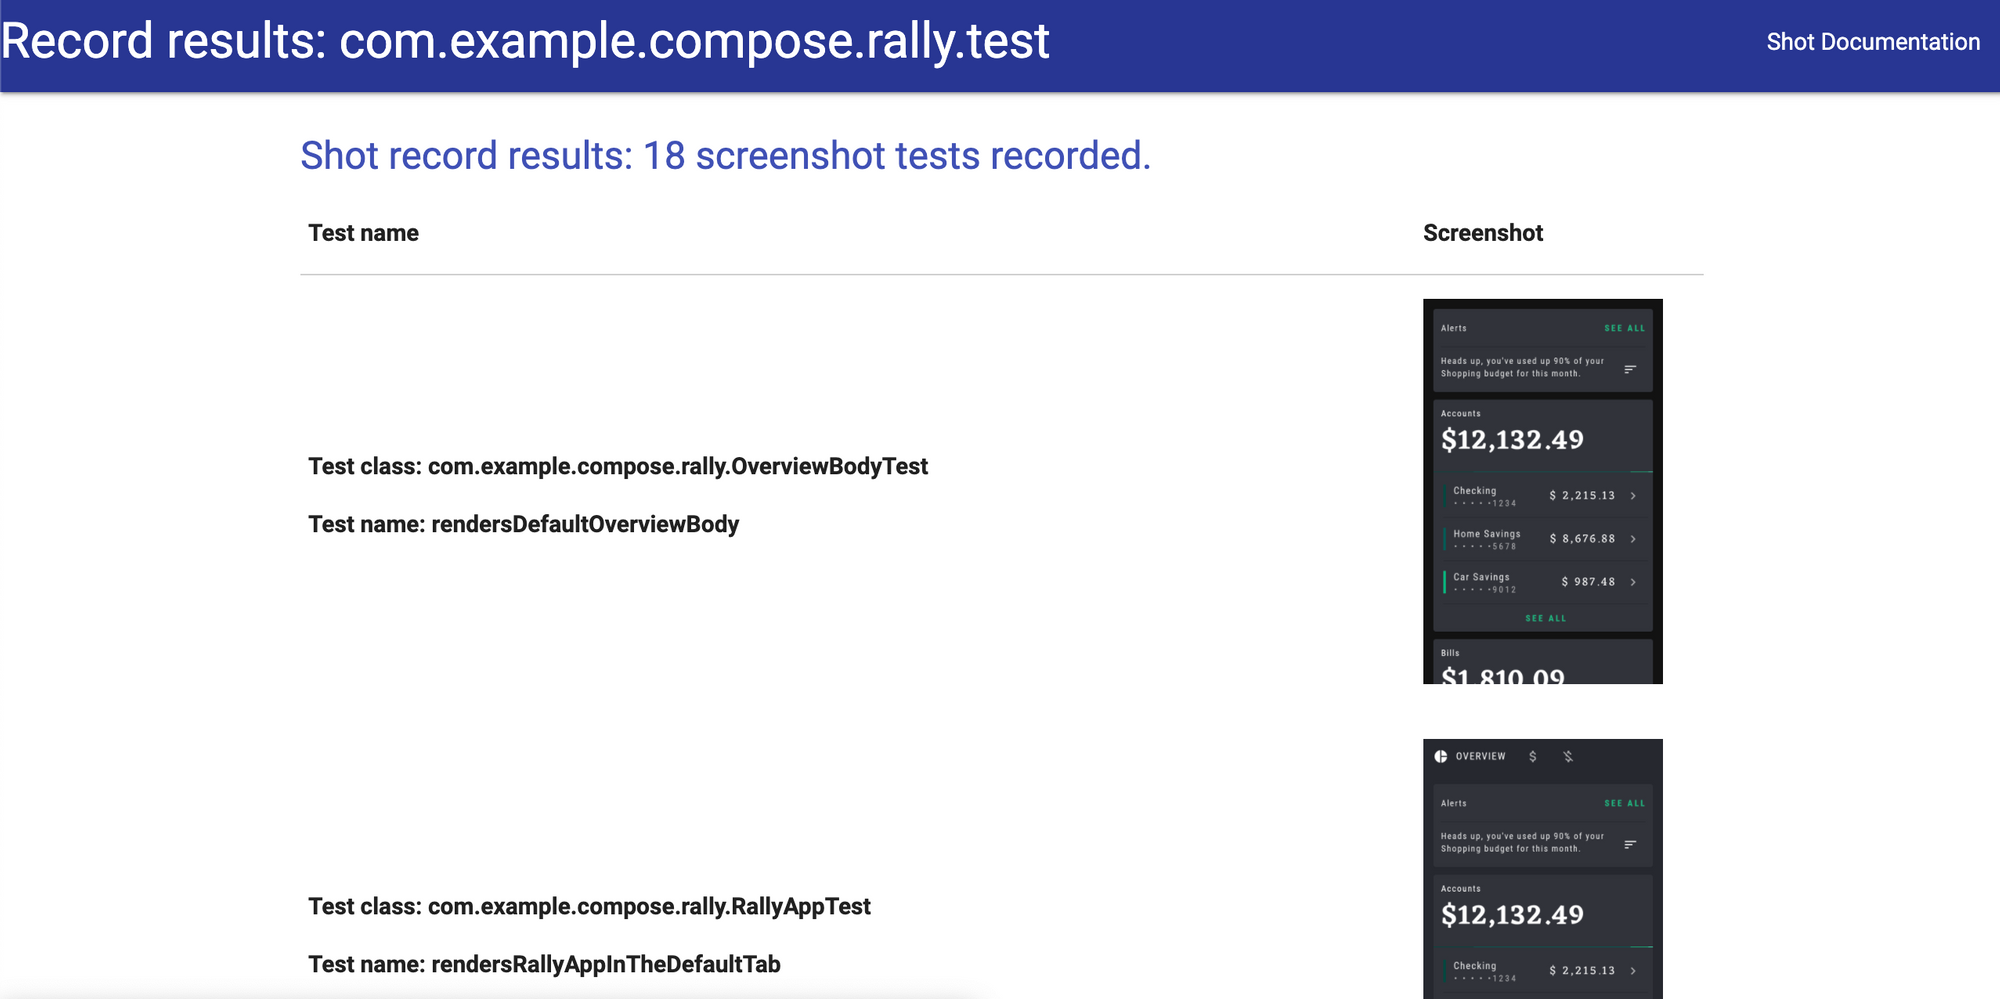
Easy, isn't it? And fully compatible with all the testing tools provided by the Jetpack Compose team! Once you run your tests, Shot will generate a detailed report for you with all the screenshots recorded as follows:
You will also find a useful plain console report whenever you execute your tests in CI or from your terminal

Now it is time to test your components using screenshot tests! If you want to review more information about Shot, you can check the official documentation here. In case you would like to review a sneak peek of what a Compose app with screenshot tests would look like, we've prepared a branch of the official Google code samples with some tests written using Shot.
We hope you find Shot super useful and you can start using it soon. Remember it can also be used with regular Android apps if you can't use Jetpack Compose right now!